 All images from The Real Real Instagram feed. When it's time to clear out your closet, most items happily to go Goodwill. However, if you have some luxury items that need a new home, let me introduce you to The Real Real. The Real Real is an online luxury consignment site. Authentication is so important to this company that they put "real" in their name twice! They have everything from apparel to jewelry to handbags and more. Whether you are looking to sell or buy the process is simple. If you have just a few items to sell, they can send you a Consignment Kit or you can visit their SF offices. If you have more items, call Miranda to book an in-home appointment and review everything at once. If you happen to be in LA or New York, stop by their beautiful clothing consignment shops! If you also have luxury home items that you are looking to sell, you're in luck! The Real Real recently added home consignments to their business. With everything from furniture to lighting to artwork, it's a virtual estate sale, with all the work taken off your hands. Give The Real Real a try and let me know what you think! The Real Real Miranda Eustis [email protected] (925) 639-6987 If you enjoyed this post take a look at Organize Your Closet with StyleBook. 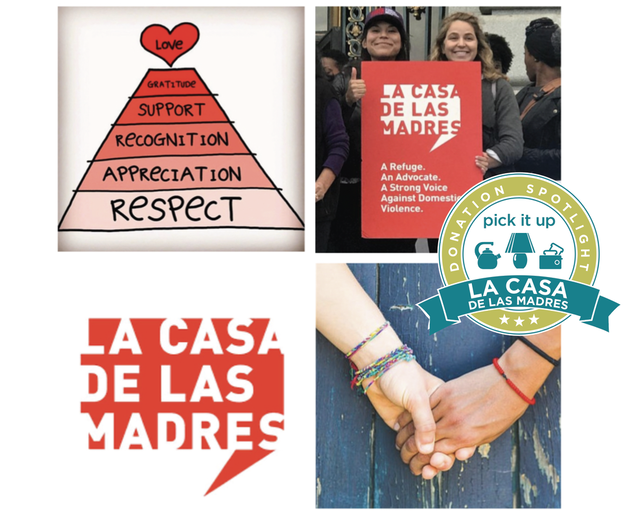 The mission of La Casa de las Madres is to help victims of domestic violence of all ages, 24 hours a day, 356 days a year. They help survivors to transform lives through emergency response, support services, and prevention education. La Casa De Las Madres works in partnership with Community Thrift to directly help those in need.
Their website states: "When you take your in-kind donation to the Community Thrift Store and make it in La Casa’s name, your contribution will transform into shopping vouchers that La Casa provides to the women and families in our programs. These vouchers are redeemed for necessities at the thrift store, providing a direct link between your donation and our program participants." La Casa also has a wonderful Adopt-a-Room program! If you have gently used furniture and home decor, consider donating them to this wonderful organization. Their website states: "The Adopt a Room Program allows donors to decorate our shelter rooms with a homey touch and purchase items such as linens, draperies, paintings, and lighting fixtures. Generous donors have furnished bedrooms, equipped our kitchen, and created a colorful mural on the living room walls. Let your creativity take off and enhance a single or family room with your choice of theme and color scheme." LA CASA DE LAS MADRES 1269 Howard Street San Francisco, CA 94103 415-503-0500 lacasa.org COMMUNITY THRIFT STORE 623 Valencia Street San Francisco, CA 94110 415-861-4910 communitythriftsf.org  I was recently dropping off some client donations at the West Portal Goodwill Boutique and was struck by how absolutely adorable it was! With a nicely designed interior, great displays and a beautiful selection of clothing if felt much nicer than your standard Goodwill. If you're in the neighborhood, I encourage you to take a look! West Portal Goodwill Boutique 61 W Portal Avenue San Francisco, CA 94127 415-665-7291 Goodwill.org   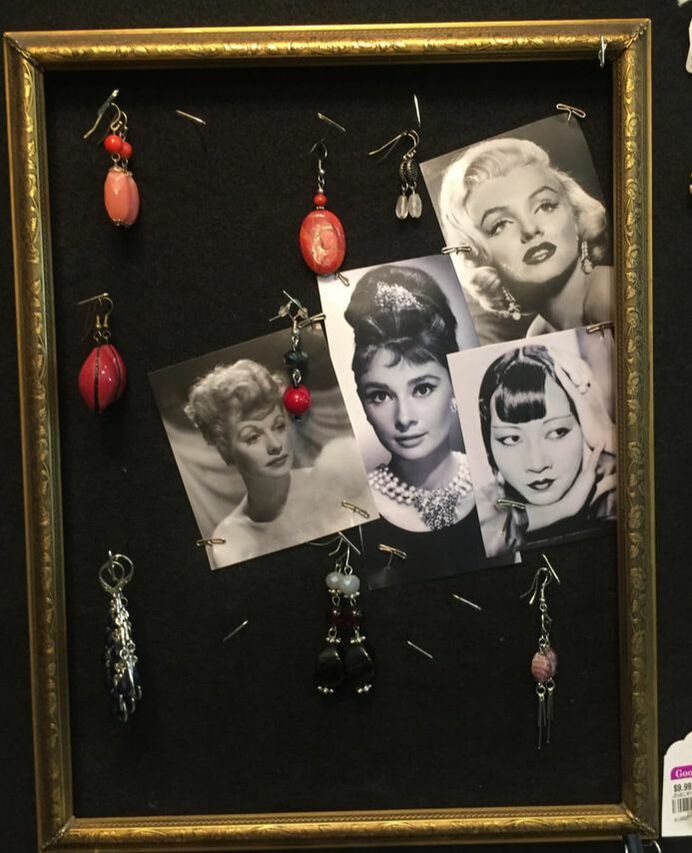   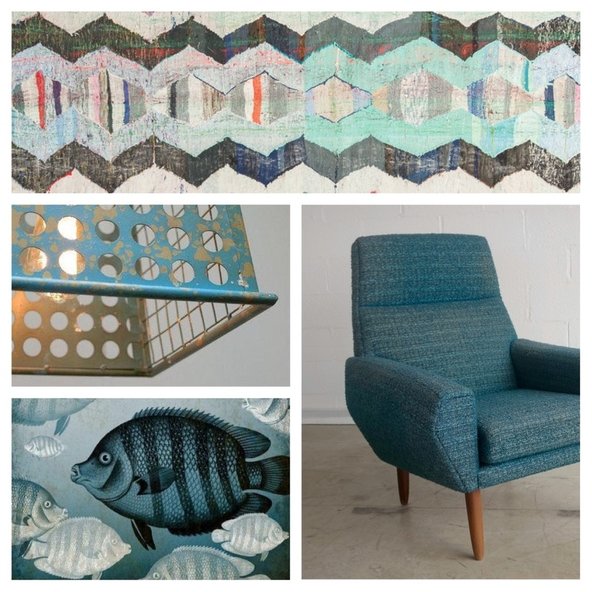 The above images are used courtesy of Chairish.com. Chairs, tables, lamps, rugs, artwork. Our homes are full of objects. Sometimes these things come together in beautiful harmony. At other times, they need a little tune up. Does the living room flow? Is the bedroom feeling tired? Never got around to hanging art on the walls? Maybe it's time to reinvent your space. It's best to start off by clearing out unneeded stuff. If your room is covered in clutter, no one will see how beautiful it is. Do a first pass and clear out the obvious stuff. Then, using the following steps, transform your home into the showstopper you always knew it could be. Pick a room and go for it! CLEAR THE SLATE. Remove everything from the room that you can. Furniture, art, everything. Yes, the other rooms in your house will suffer a bit with all the extra stuff, but it's temporary! SHOP AT HOME. Take a look around the house, don't forget the basement, attic and storage units. Bring in furniture and accessories that work together, flow and complement one another. Think about the need for concealed storage and media equipment. Do you have adequate furniture and storage? If you need to buy or sell items, consider using Chairish.com - see more about Chairish in the below! START A CONVERSATION. Aim to create conversation areas with the furniture. Is there a focal point in the architecture, view or fireplace? Arrange furniture accordingly to take advantage of this feature. PLAY WITH ART. It can be fun to bring all the art laying around the house and basement into the room and just play with placement. If you don't have one large dramatic piece for a focal point, group artwork to make a gallery wall instead. LESS IS MORE. Bring back only the essentials, not the clutter. Instead, gather together collections you love based on color or material. Don't forget to vary the height of objects around the room to create visual interest. Placing things on stacked books can be great way of doing this. COLOR SPLASH. Add fun pops of color with artwork, pillows, a throw or curtains. Keep the colors in a consistent palette. LAYERED LIGHTING. Don't forget to layer your lighting. It's good to have overhead, task and ambient lighting. Now, sit back and enjoy your beautiful new space! As always, feel free to book a session if you would like some help reinventing your space.  I recently discovered Chairish.com and I'm in love! Chairish is an online marketplace where design lovers buy and sell vintage and pre-owned furniture, decor, and accessories to one another. Their shop features curated items for sale from individuals, vintage shops and interior designers. Buyers can make an offer on items, and Chairish manages delivery. You can even just shop local items! If you are in need of design inspiration when rethinking your space, look no further than Houzz. With literally millions of home design photos, and the ability to search by room or style, you are bound to find something that sparks you. Check out the Houzz App as well! 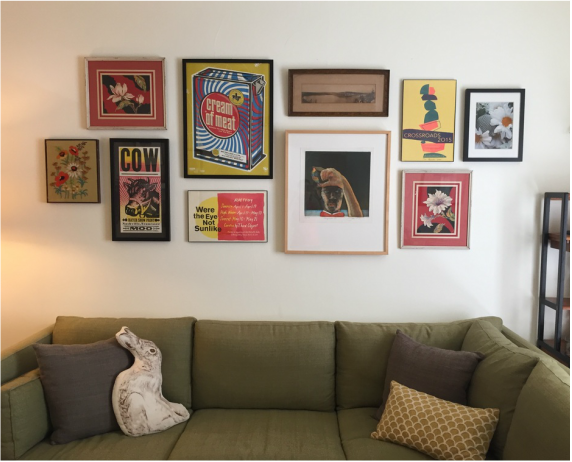 After months of thinking about it, I finally hung a gallery wall in my living room. When it comes to my house, I usually do things in a burst of inspiration and this was no different.
Late one night I took nearly every piece of artwork off of every wall in the house and brought it into the living room. The next morning, I played around with all the artwork and eventually came up with this configuration of graphic red and yellow tones. There are many ways to hang a gallery wall, but I like the method described in the blog StuffStephDoes. Measure & Make Your Template. First, you measure out the wall area you want to cover. Using those measurements and some brown packing paper, create a large template on the floor. Design & Outline. Place your artwork configuration on the paper and outline each piece of artwork. Mark the spot for the nail by finding the center of the top edge of the frame and measuring down to the spot where the nail would be. Nail & Hang. Tape the paper template to the wall and make sure it's level. Put a nail in each spot you designated. Tear down the template, hang your art and enjoy the results! 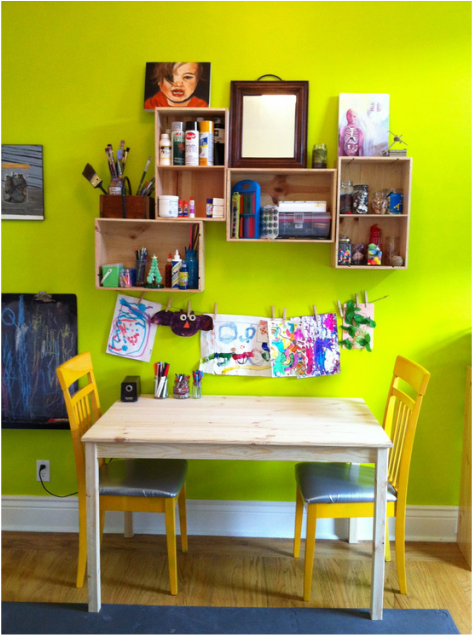 Kids are prolific artists! The painting, the gluing, the drawing! It's wonderful to see our child engrossed in making art, but perhaps it's not so wonderful to see the dining room table covered with glitter glue.
There is a solution. Whether it's a table in the corner of the kitchen or a whole room, let them have a space to unleash their creativity. Gather & Purge. The first step is to gather all the art supplies in one place and purge, purge, purge! Keep what they need and take the rest to SCRAP. Get the Essentials. You don't need much to create an art area. I suggest a table, a few chairs, pen/pencil holders, and a place to hold supplies like paper, coloring books and stickers. Get some inspiration from my Kid Art Areas Pinterest board. Create a Gallery. Kids love to see their work displayed! The fridge is fine, but two of my favorite ways of displaying art is on a clothesline and in hinged frames. Have fun making art together! 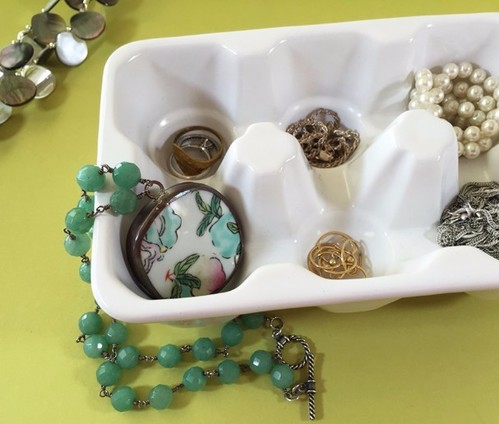 So many of my clients have beautiful jewelry they would love to wear, but don't because it's in a tangled mess. If this sounds like you, here are some steps you can take to remedy the situation.
1) Purge. Take everything out and assess. Ten pairs of hoop earrings? Broken necklaces? Clear out everything you don't love and donate or sell it. 2) Store. Next, look at my Pinterest board about Jewelry Organizing to give you some ideas about storing your favorites. Could you use drawer inserts, or a tree stand? Pick one or two and go for it. Maybe now that all the excess is gone, the storage you have works perfectly! 3) Organize. This is the fun part! Organize all of your favorites into your new system. Remember to maintain the system by putting things back after you wear them. Be prepared to feel fabulous! |

AuthorErin Becker is a 
Swimming in paper?
Download the free Quick-Guide to Paper Flow to start taming that pile! 
Having a hard time
getting things done? Subscribe to my new newsletter Find Your Focus! It’s full of useful and practical ways to bridge the gap between knowing and doing to help you reach your goals. Categories
All

|
Pick It Up, organizing and personal coaching • [email protected]
© 2023 Pick It Up, organizing and personal coaching
© 2023 Pick It Up, organizing and personal coaching