 Donation Spotlight for April!
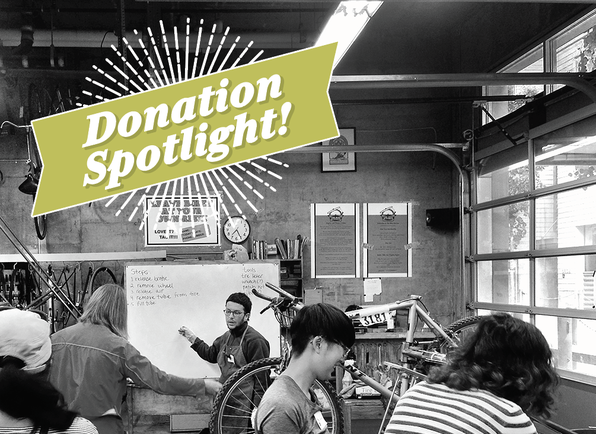
I recently came across a great nonprofit organization called Bike Kitchen. Their website states: "The Bike Kitchen teaches people of all ages and backgrounds how to repair bicycles. The Bike Kitchen promotes personal development and provides leadership opportunities. Operating as a cooperative shop, we provide affordable ways to acquire and maintain a bike, encourage re-use and recycling, and work with community groups to get more people on bicycles." How great! If you have some bikes or bike parts that you no longer need, consider donating them to this great organization! BIKE KITCHEN 650H Florida Street, San Francisco, CA bikekitchen.org 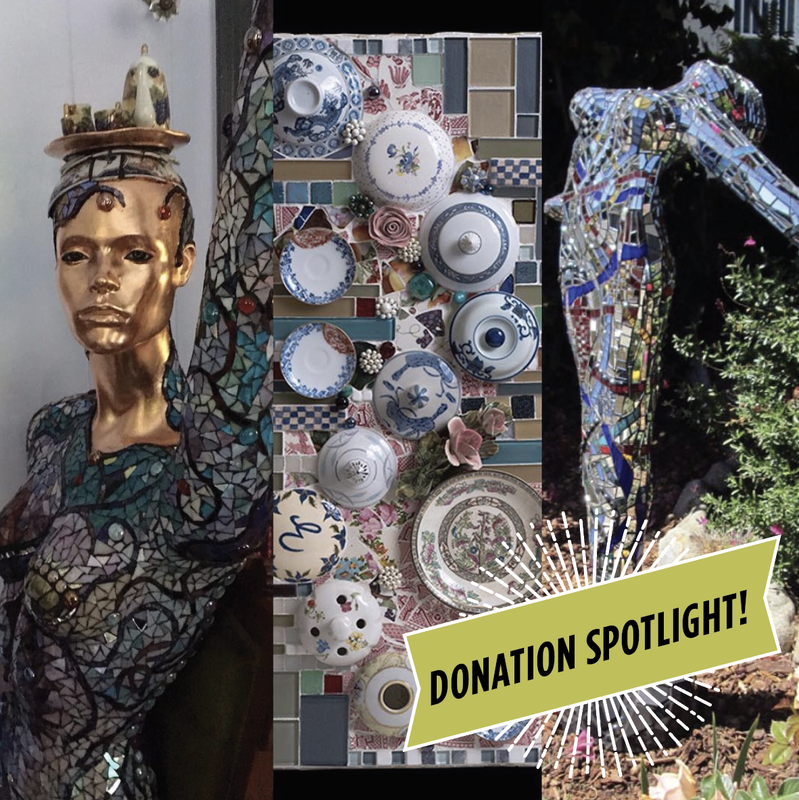 If you love discovering strange places, let me introduce you to Building Resources.
Building Resources is San Francisco's only salvage yard and a great source for reusable building and landscaping materials. With rows of old doors, windows, furniture, tumbled glass and tile, you can find things both strange and wonderful! I recently picked up a stained glass window I couldn't live without. Building Resources is also a great place to donate old house parts or garden art, furniture that has seen better days or scrap metal and wood. Stop by and get inspired! Building Resources 701 Amador Street, San Francisco, CA 415-285-7814 https://buildingresources.wordpress.com/ 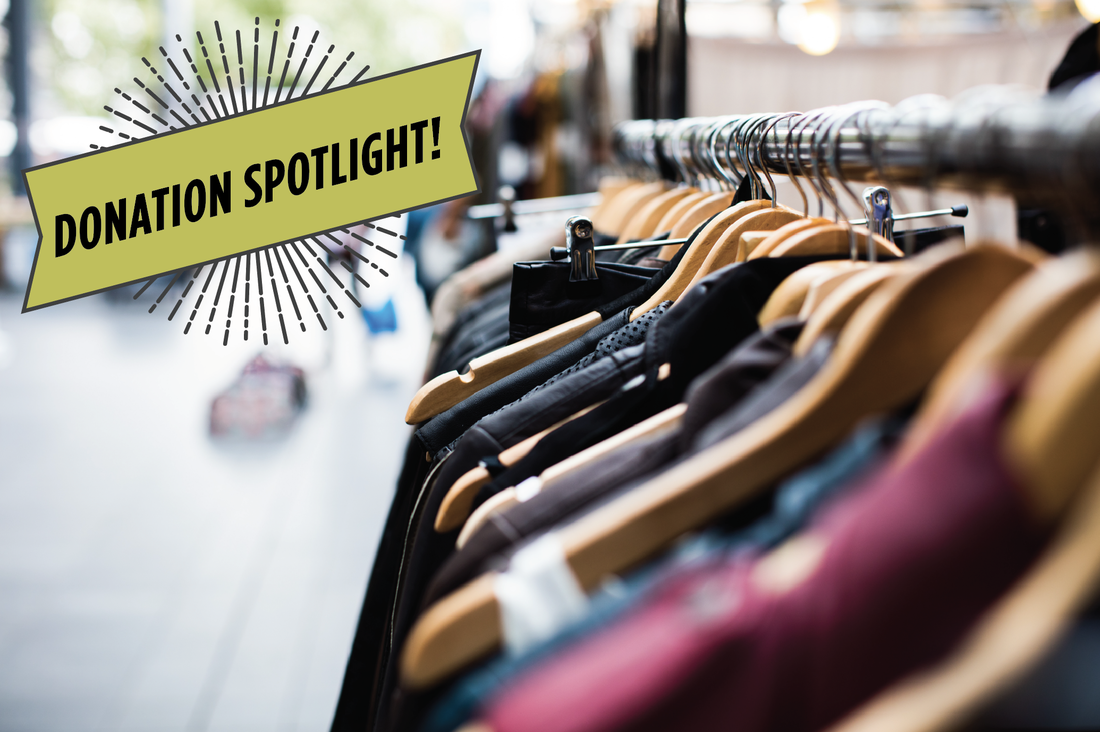 Dress for Success is a wonderful non-profit that empowers women to achieve economic independence by providing a network of support, professional attire and the development tools to help women thrive in work and in life. They have frequent drop-off events and one is coming up tomorrow in San Francisco (see details below.) If you have been looking for an excuse to clear out your closet, here it is! They accept women's professional interview clothing (including suits, blouses, pants, jackets, blazers, skirts, dresses, shoes, jewelry, scarves and handbags.) Items should be clean and not more than 5 years old. Upcoming drop off dates: Tuesday, February 6th 1-4pm Tuesday, February 20th 1-4pm Dress For Success Boutique 500 Sutter Street Suite #218 San Francisco, California 94102 415-362-0034 sanfrancisco.dressforsuccess.org 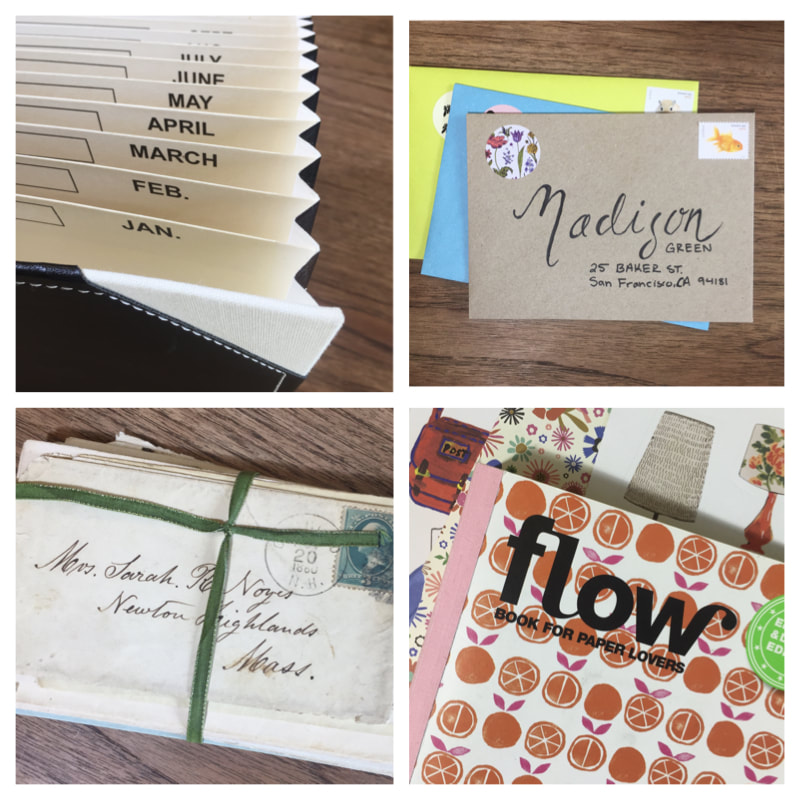 I never used to get birthday cards out on time. Truly. I had people's birthday's on my calendar, I had their address, I had birthday cards, I even had stamps on hand. Still, I never seemed to get the cards out in time. I am happy to say all that changed last year. Why? I started a birthday card tickler system. I know at this point you're thinking, "What the heck is a tickler system?" Admittedly it's a strange name, but it's just a reminder system that "tickles" your memory. It's also an easy way to get ahead on those pesky cards. With a few simple supplies and a little time, you can get all your birthday cards taken care of for the year! 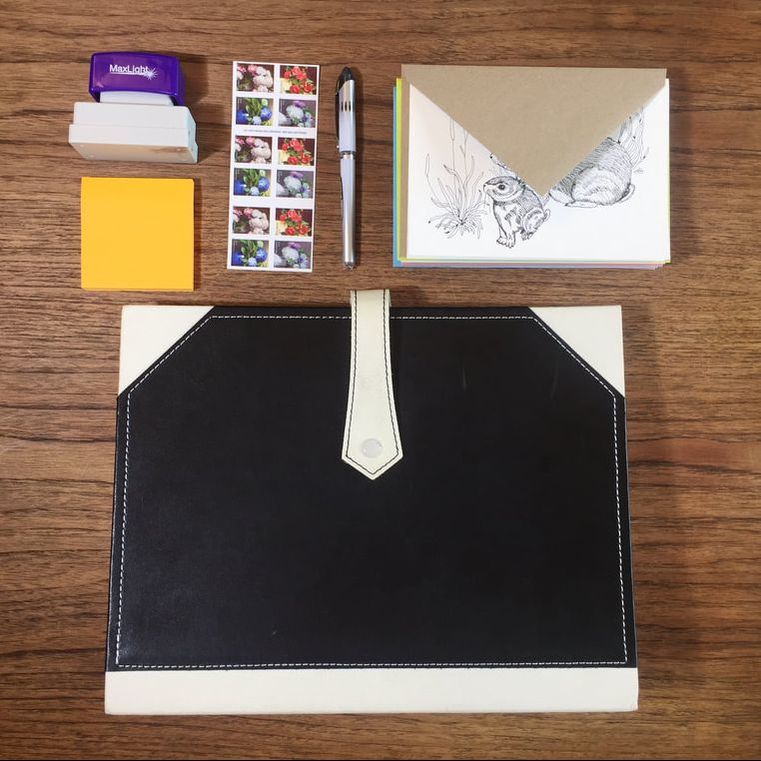 Supplies:
GATHER. Start by gathering the above supplies. Purchase as many birthday or occasion cards and stamps as you will need for the year. Don't go overboard! Keep your card list manageable. ADDRESS. Your tickler system starts with an expanding file folder with twelve pockets, labeled for each month of the year. Determine if anyone on your list has a January birthday. If so, choose a card for them, address it, stamp it and place the return address on it. I like to leave the inside of the card blank so I can write a personal note at the time that I am sending it, but that's up to you. If you are leaving the card interior blank for now, be sure not to seal the envelope!  FILE. Place a sticky note on the card with the actual birth date so you know if you should send it early or later in the month. Place it in the January pocket and move on. Do this for each person on your list. When one month is done, I find it helpful to arrange the cards in order of date before I place them in the file. If someone has a birthday in the first few days of the month, I place their card in the month prior, so I get it off to them on time. REVIEW & SEND. At the start of each month, open up the pocket for that month and see which cards need to be sent. If you left the interior of the card blank, now is a great time to write a heartfelt note in each. A week or so before the date, pop it in the mail and you're done! 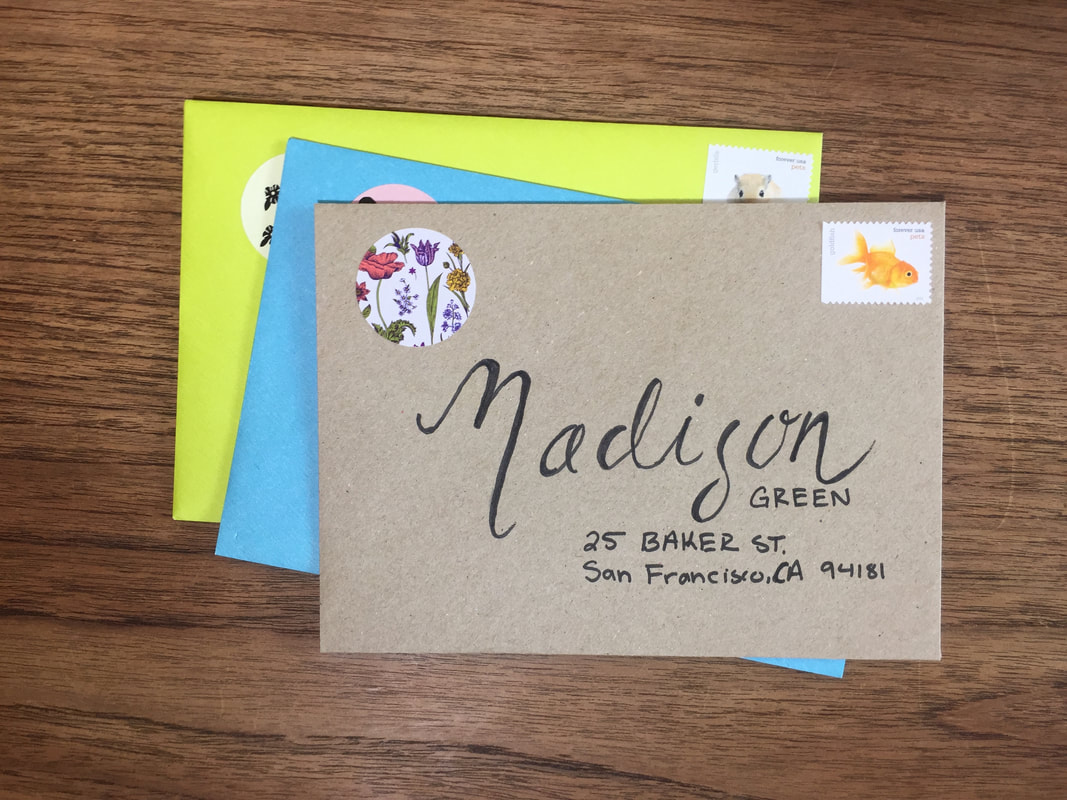 Now, if you want to stop there, congratulate yourself on a job well done! However, if you have a love of paper-arts or drawing you may want to embellish your letters. You could add some fun stickers to the envelopes. If you have a flair for brush script or calligraphy, you could make the name or address really special! Get inspired by the beautiful handwriting on 19th-century letters. If you love drawing, you could doodle on the envelope. If you love stamps, instead of putting one 50¢ stamp, place a curated collection of stamps that add up to 50¢ like my talented friend Jenny. I love getting her letters because they are so beautiful! 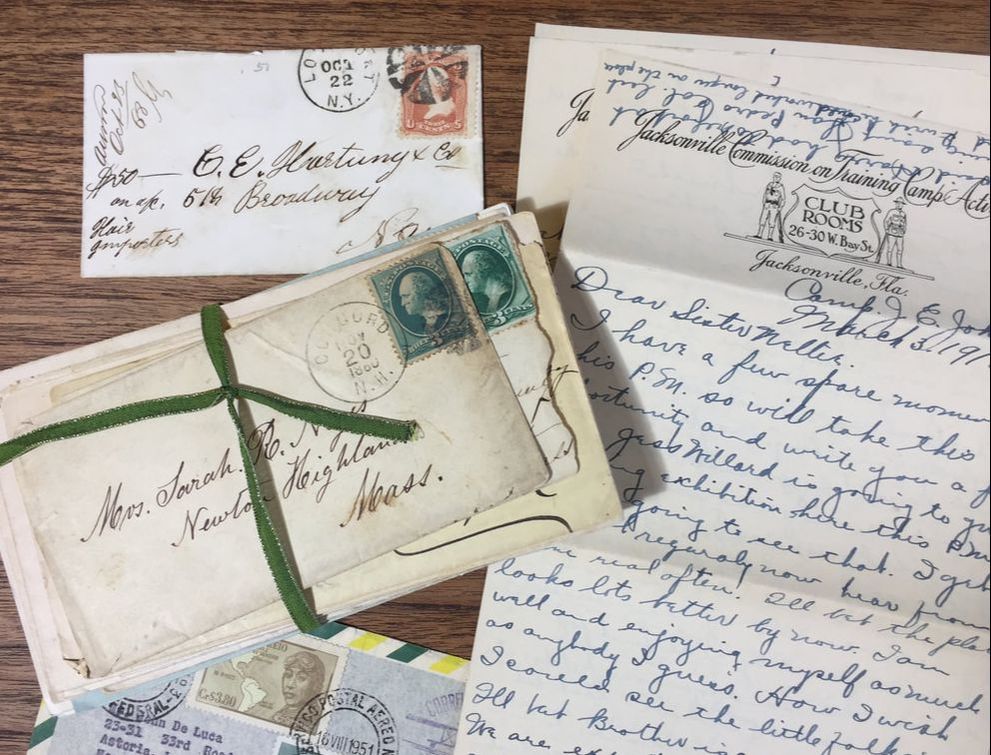 This whole project was inspired by a Dutch magazine called Flow. It comes out a few times a year and is full of gorgeous paper, fun pull-outs, stickers and lots of postcards. This magazine just makes you want to send beautiful letters! I love sending letters so much now that I include one or two a month in my tickler system just to say "hello" to people. Add your individual heart and creativity to these letters, knowing that they will go out into the world all year long and make people smile! 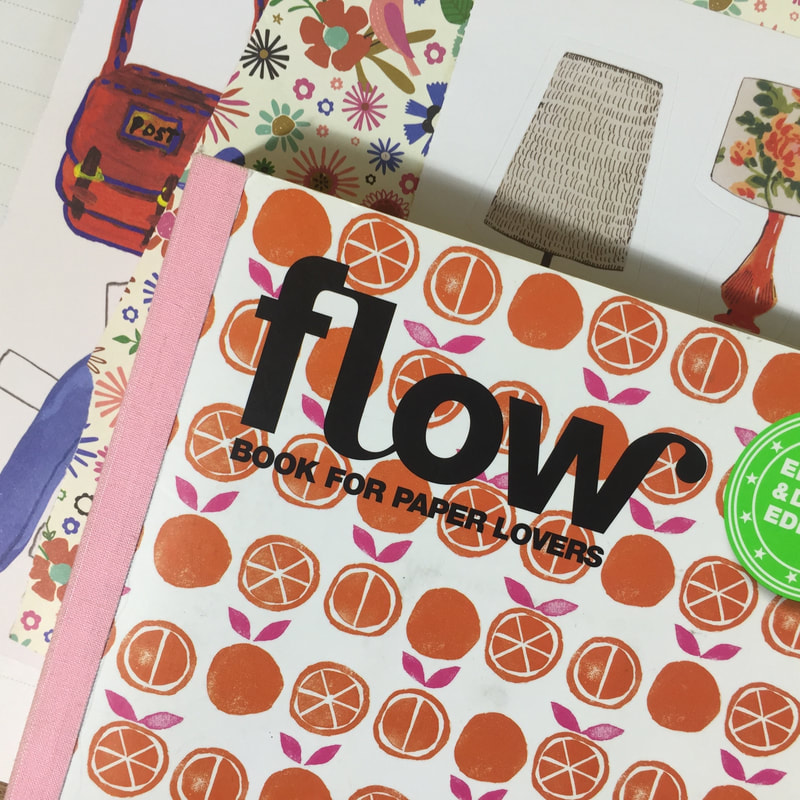  Did you know January is Get Organized month?
Many of us make resolutions in the new year to eat healthier, exercise, get more sleep, learn something new or get organized. Is that last one on your list? It turns out being organized is good for you in many ways. Getting organized may actually help you to achieve your other resolutions as well. Researchers have found that getting organized can help people lower stress, set and achieve goals and even sleep better. Check out this Psychology Today article for details. It's often helpful to hire a professional organizer to get started. Organizers can provide support to help their clients make positive changes in their lives. To find out more about NAPO (the National Association of Professional Organizers) visit napo-sfba.org. If you're ready to get started on your organizing project, drop me a line. Happy 2018! Sometimes we just need to be reminded of the basics! If you have an organizing project and don't know where to start, look no further than this quick guide! It's all about the basics. 1) SET ASIDE TIME: Block of 3 hours to start your project. Make this a time with no interruptions. No kids or phones! 2) START SMALL: Pick a room and choose a small area, such as your desktop or one drawer to start. 3) ASK QUESTIONS: For every object, as yourself, do you want it, love it, or need it? If the answer is "no" let it go! 4) CAN IT BE DONATED? Donate items that still have use! Check out my favorite donation organizations here. 5) HOW ABOUT RECYCLED? Can't donate it? Use the RecycleWhere tool to find recycling and responsible disposal options. 6) KEEP GOING: Stay focused on your chosen area and your work will pay off! If you need some extra help, feel free to book a session! 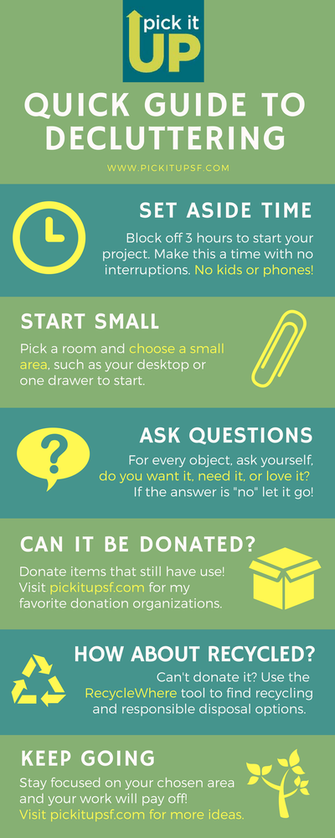 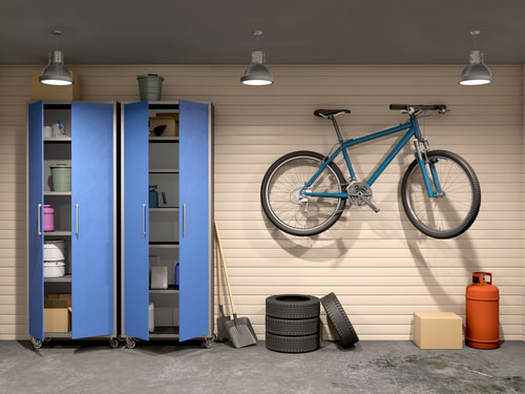 In San Francisco, our garages need to work hard. They may hold a collection of bikes, tools, toys, art supples and even a car! Too often, however, the garage is the ultimate dumping zone. Wouldn't it be nice to walk in your garage and love it? Imagine a place where it's easy to get around and find what you need. Is garage zen too much to ask for? I don't think so. It just takes some time and work. PLAN. Block off a section of time to start your project. I recommend 3-5 hours. Make this a time with no interruptions. No kids, phones or pets. You may not be finished at the end of this time, but you will have a good start. Keep at it and stay focused. SORT. Pick an area (such as the workbench) or a category (such as sports gear) and start asking yourself questions about the items you find. Is this item being used by you or someone else in the family? Is it needed? Does it work? Has it seen better days? Assess EVERY item you come across. DONATE. If the item is not needed or wanted, can it be donated? Not sure? Check out my list of local SF donation organizations. Place smaller items in grocery bags and put everything near the door. It's helpful to label the bag with the organization's name. If it's not something you can donate, recycle or responsibly dispose of it. Is it toxic? Call Recology to do a pickup at (415) 330-1405. ORGANIZE. If the item stays, find the right home for it, remembering to place it with like items. Not sure where it goes? Would bins, hooks or shelves be helpful? Put these items on a list and keep going. Stay focused on the task at hand. STORE. Once you have purged the area, additional storage is often needed. Should you hang the bikes? More shelving? You could go with a simple shelving unit from a home supply store, mounted shelving such as Elfa Utility, or an entire garage system such as Monkey Bars. Whichever way you go, purging and organizing must come first. For additional garage organizing ideas check out my garage Pinterest board. As always, feel free to book a session if you would like some help in creating your own garage zen! 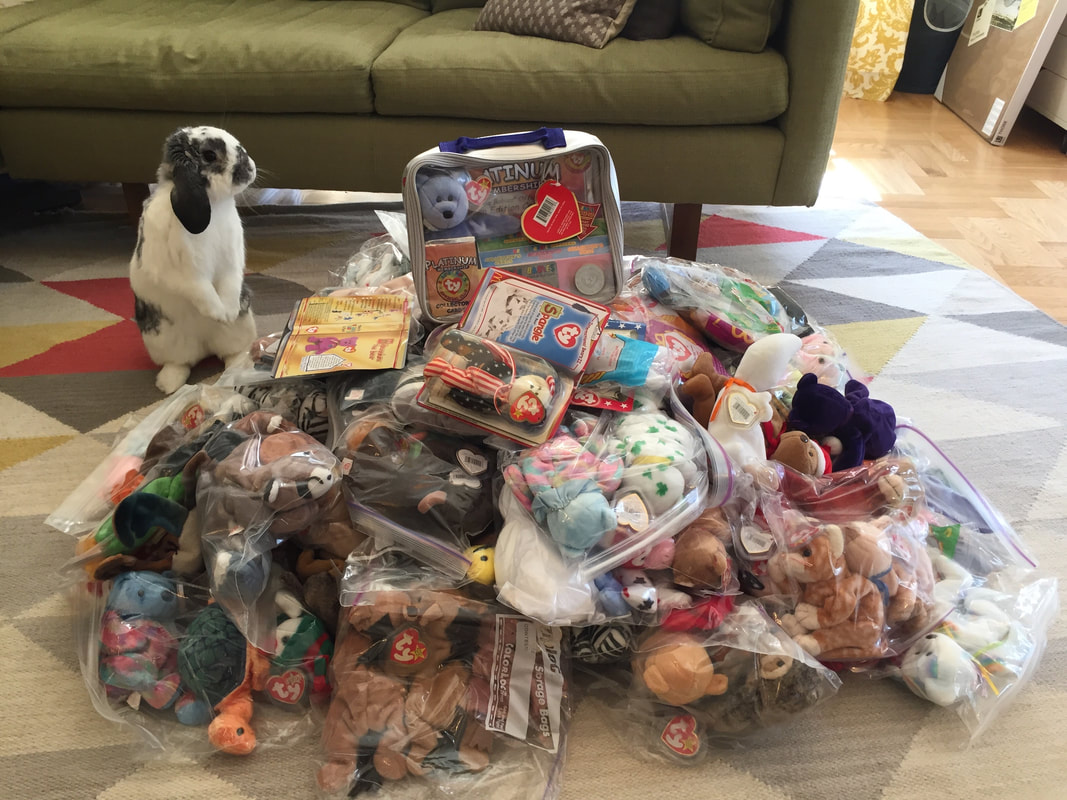 Collection of Beanie Babies that were donated to UCSF Children's hospital. Rabbit not included! Remember Beanie Babies? If not, they were hugely collectable stuffed animals in the late 90's. People went nuts for them for a time! Well, a client of mine recently decided that it was time to let go of her vast beanie baby collection. She had at least 100 beanie babies of every variety. Chameleons, scorpions, zebras, lobsters and lots of bears. Who knew? My client wanted to let go of them, but it was important to her that they go directly to a kids organization. Thankfully Nicole and Heather in the Community Relations department at USSF Benioff Children's Hospital were happy to accept them! Now they will be brightening up the lives of lots of kids and their families! I can't think of a better way to part with a beloved collection. 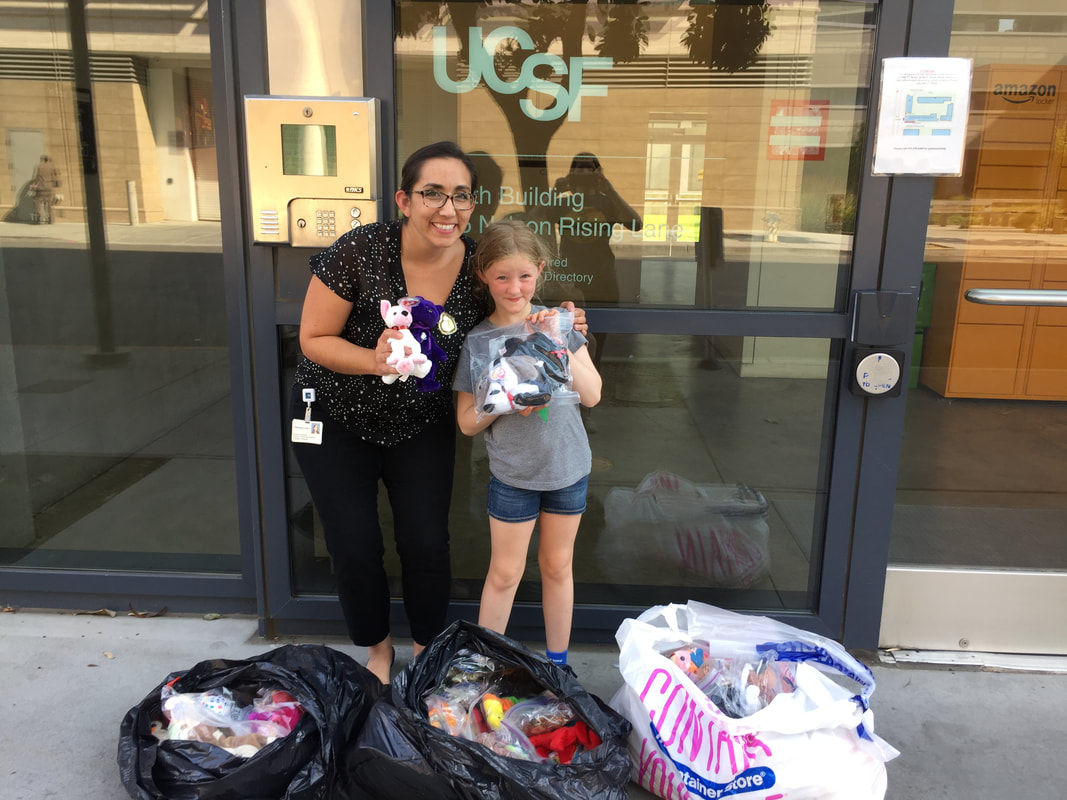 Heather of UCSF Benioff Children's Hospital accepting the beanie babies and my daughter helping to make the delivery!
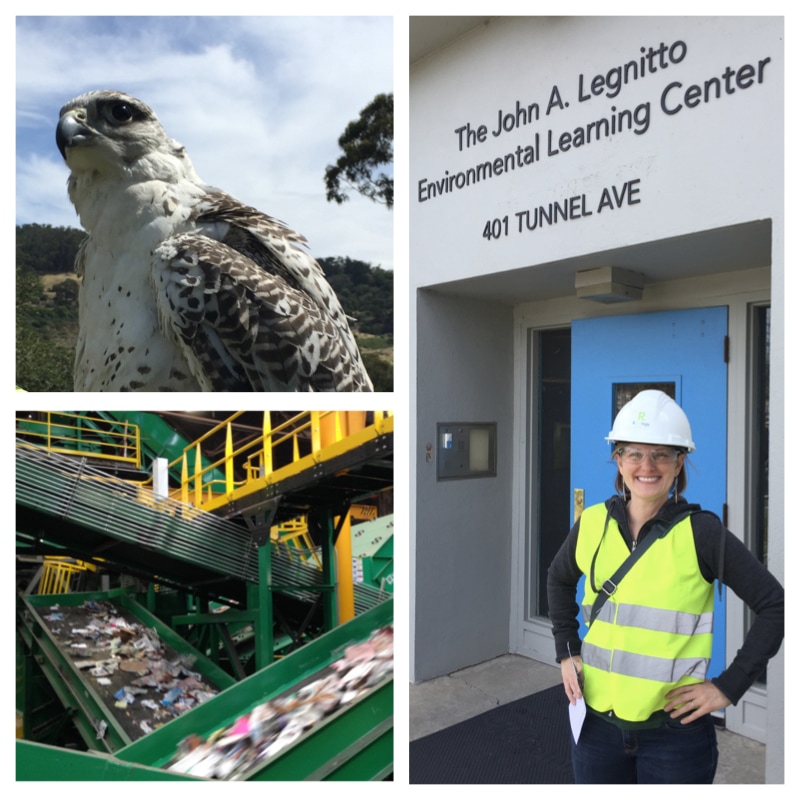 Top left photo: Pearl the Falcon. Bottom left photo of Recycling Center: Photograph © Sven Eberlein. Right photo: Erin in hard hat and vest on tour. Every Wednesday night I haul three bins into the sidewalk. One Black, one blue and one green. Of course, I had a general understanding of where my trash went, but now my understanding goes great deal further. Recently I toured Recology's San Francisco Transfer Station and Recycling Center. On the tour, we learned about San Francisco's goal of zero waste - the most ambitious in the country - and how we can help achieve that goal by properly recycling and composting. We toured the Environmental Education Center, the Artist in Residence studios, sculpture gardens, and the dump transfer station. We also met a falcon named Pearl who is used to deter (but not harm) the many seagulls that flock to the station. She was absolutely beautiful!! We then drove to the Pier 96 Recycling Center. This center really blew my mind! It's like walking into an octopus of conveyer belts! It's a 200,000 square foot state-of-the-art recycling center. Things are moving all around you. People and machines are hard at work sorting our recycling, and it's LOUD! It's actually kind of hard to comprehend everything that is happening as you walk through the center. It's amazing, enlightening and sobering. The sheer amount of stuff we throw away and recycle is staggering. Of course, recycling is better than landfill, but that plastic will still be around in thousands of years, even if it's recycled. This trip really made me want to double down on my efforts to use less plastic and create less waste in general. Here is a great post by Sven Eberlein about the new center. It really gives you an idea of the size and feel of this massive place! If you live in San Francisco, I highly encourage you to take one of these tours! They are free, happen twice a month and anyone can attend! Found out more here.  I was excited last week to find out that Pick It Up was chosen as one of the top 20 organizers in San Francisco by Expertise.com!
Expertise.com is a nationwide service that connects people with experts in their community. They combed through 187 professional organizers working in SF and chose their top 20. They based this decision on professionalism, availability, experience, credibility and reputation. I am thrilled to be recognized on this list! Thanks Expertise.com! |

AuthorErin Becker is a 
Swimming in paper?
Download the free Quick-Guide to Paper Flow to start taming that pile! 
Having a hard time
getting things done? Subscribe to my new newsletter Find Your Focus! It’s full of useful and practical ways to bridge the gap between knowing and doing to help you reach your goals. Categories
All

|
Pick It Up, organizing and personal coaching • erin@pickitupsf.com
© 2023 Pick It Up, organizing and personal coaching
© 2023 Pick It Up, organizing and personal coaching